Cool GMC Stepside Gets “clipped” Part II – EROD Drivetrain, “Re-Body”, Paint, Steering & Brakes

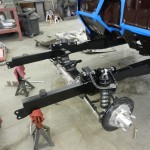
In our first installment of our GMC Stepside we showcased the installation of a Morrison “Bikini” Front Clip and 4-Bar Rear Suspension System.

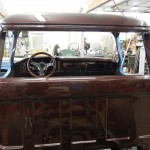
As promised the next “phase” of our GMC Stepside project took a unique turn for the better, or shall we say “got re-bodied”. Shortly after leaving our shop at Ron Pircey Enterprises the truck landed at the body shop. It was here that we discovered that the original cab was too rusty to be used. A new plan, which involved finding a new cab to replace the badly rusted original; along with the mounting of the new cab to our new “modernized chassis”.

The plot began to thicken because 50s era GMC trucks are hard to find and a suitable GMC replacement cab could not be located. A Chevrolet cab was found in relatively rust free condition. The only problem is that the Chevrolet dash is completely different than the GMC it replaced; the Chevrolet cab was not the rare “big window” version like the GMC. So, part of the body and paint process included exchanging the Chevrolet dash with the GMC version and using the “big window” framework from the GMC on the Chevrolet cab!


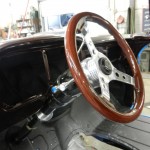
Once the bodywork and “rebody” was complete the truck once again arrived at Ron Pircey’s shop so that the steering column and linkage could be fitted along with new Wilwood Disk Brakes.


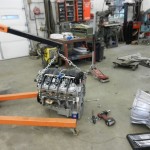
Also part of this phase is the installation of the “EROD LS GM Crate Motor and Transmission”


The next group of photos shows the LS Motor nestled in the frame rails of the truck.


Part of the drive line install was a complete Vintage Air “Front Runner” Pulley System.


The third installment on the Stepside will include Fuel Tank and Fuel System fabrication, Electrical/Wiring and Brake Line Installation.

Stay Tuned….

A Dream Realized-Chapter Two Rear Subframe Installation and Rear End Housing Construction

Chapter Two of our “A Dream Realized”  70 Chevelle project will chronicle the installation of the Ladder Bar Rear Sub-frame and the narrowing of the 9” Ford Housing. In order to accommodate the 33”X18.5” rear tires that are planned for the rear of the 70 Chevelle, the fixture welded rear frame that we completed in Part One along with a properly narrowed 9’ Ford housing was the next step in the build process.

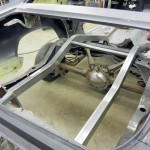
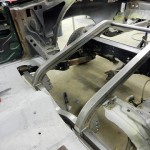
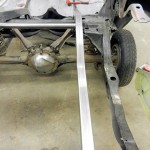
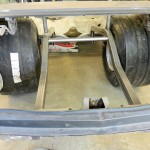
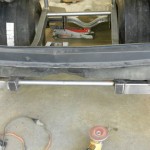
If you look closely at the photos, you can see how Ron cut the factory GM frame in such a way as to allow the new 2”X3” frame assembly to be positioned in place while most of the stock frame was still in the car. This will prevent any “twisting or flexing of the body” that would normally occur if you were to remove the entire factory rear frame before installation of the new sub-frame.


Once the new rear sub-frame was completely installed the remainder of the stock Chevelle frame could be cut out and the “monster” rear tires mocked up into position.


Notice the rear body mounts that use “factory style” body mount bushings.


Once the tires were under the Chevelle, a proper dimension could be taken to determine the “finished width” of the 9” Ford Housing. This measurement is critical as you must also consider brake drum/rotor thickness, and quarter panel and frame clearances to determine the final dimensions of the housing.

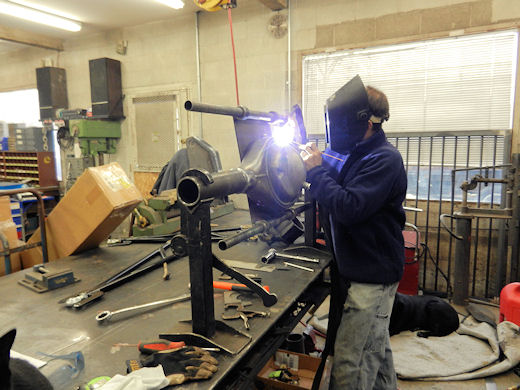
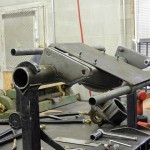
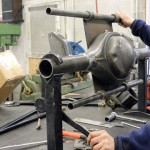
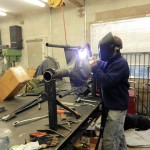
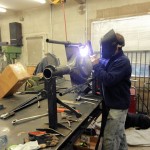
With our final “housing width” determined; Ron set to work cutting and narrowing the housing. A special “housing narrowing fixture or jig” is used to ensure that the housing stays straight during this process.


All of the Ladder Bar and Coilover Shock Mounts also needed to be positioned properly and finish welded.


“A Dream Realized” Chapter Three will show the installation of the Rear Suspension and the beginning stages of the Roll Cage Installation..

Stay Tuned….

Powered by WordPress