When we last checked in on the progress of our “Joe Knows Mustangs” project, the new Morrison Triangulated 4-Bar Rear Subframe had been installed. The subframe connectors, rear suspension, tin work, wheeltubs and fuel tank will complete this project and put the Mustang on its “feet” for the final time.
The weld in subframe connectors will connect the factory front suspension and subframe to the newly installed 2X4 Morrison Rear Subframe. The floor is “notched” to allow the 2X4 tubing to slide through the “slot” in the factory floorpan. The first two photos show a view from above in the passenger compartment.
The next two photos show a view from under the car.
The subframe connectors are welded to the factory front subframe this way.
The final photo from this portion of the install show how the subframe connectors connect to the crossmember of the Morrison Rear Subframe.
Assembly and installation of the rear wheelwells is next. The wheelwells must first be assembled by sliding the “face or half round” of the wheelwell into the special “Pittsburg Seam” of the “flat” part of the wheelwell; to form the assembled unit. Once assembled the pieces are locked together by gently tapping over the tab of the “Pittsburg Seam” to lock both parts together firmly as shown in this photo.
Once both wheelwells are assembled, they are fitted into the car carefully. Once the wheelwells ar trimmed for proper fit, they can be put in place temporarily.
Here is a view from the trunk area of both wheelwells installed.
The fuel tank is a new reproduction tank that will be installed between the rails of the rear subframe and will use the factory fuel tank filler assembly.
The tank in place between the frame rails.
Once all the final welding was done the subframe was painted a shiny black.
Installing the rear suspension is simple but time consuming; as care must be taken to insure that everything is aligned properly so the car tracks properly. The next series of photos show the rear suspension components and narrowed 9” Ford Rearend installed for the final time.
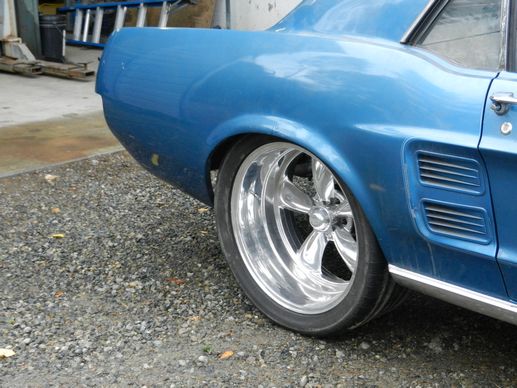
The new “tinwork” was another time consuming aspect of our Mustang project. The overall finish of the completed car is judged by many by the parts that can be easily seen; like the tinwork and wheels and tires. The tinwork of our Mustang turned out exceptionally well and is a testament to the craftsmanship that Ron puts into every project. Here are a few photos of the tinwork.
As our “Joe Knows Mustangs” project is now completed, here is the part of the project that everyone most enjoys; The Finshed Photos!
Now car owner Joe Finley can move on to the paint and interior parts of his project….


 November 5th, 2012
  admin
admin 


