Carmine Maraglio had a dream to build his 65 Falcon into a “canyon carving”; ultimate handling vintage muscle car. He also knew after some time consuming research that the car Ford had originally built was designed to be a “daily driven family sedan” and not a machine for ultimate handling and performance. One of the major design flaws was the fact the Falcon’s unibody structure is inherently too flexible to meet Carmine’s needs. Toward that end, Carmine chose Ron Pircey at Ron Pircey Enterprises to custom build a 8 Point Roll Cage and subframe connectors to tie everything together to provide the necessary stiffness that would make the Falcon a dynamite platform from which to build a corner carving muscle machine!
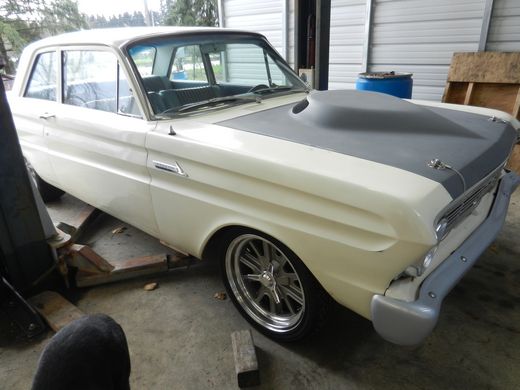
The Falcon arrived and right away Ron noticed how clean the car was for one built almost 50 years ago…
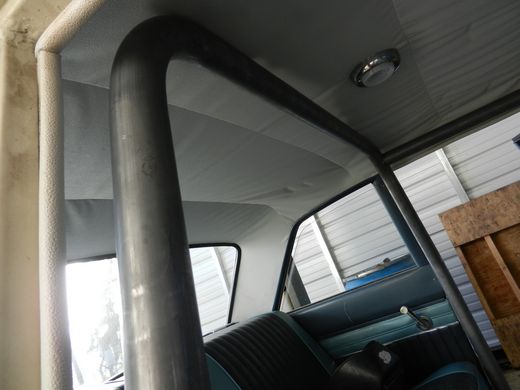
The roll cage begins with the bending and fitting of the “Roll Bar Main Hoop”. 1.625 X .120 Wall DOM Seamless Mild Steel Tubing was chosen as the material because it meets the safety requirements of the SCCA and NHRA should Carmine decide to competitively race the Falcon.
Of special note is the fact that all the Roll Bars and Roll Cages that Ron installs are TIG welded instead of using the MIG Welding process. Using the TIG welding process provides a stronger and cleaner looking weld. The drawback is that for Ron; TIG Welding is a more time consuming method. But, strength and quality are more important to Ron than saving time.
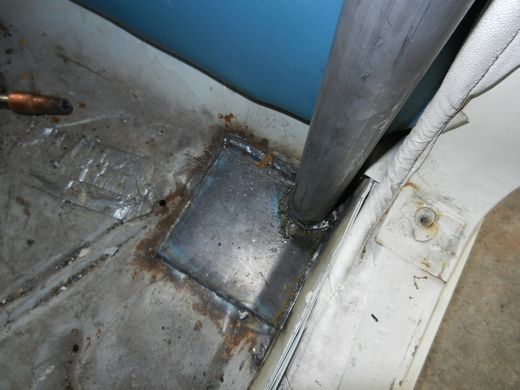
This is where the Roll Bar Main Hoop attaches to the floor behind the door. 6” X 6” X 1/8” Steel Plate is formed and welded to the car’s floorpan to provide a stable and strong attachment point for each of the roll bar’s pieces that attach to the stock floorpan.
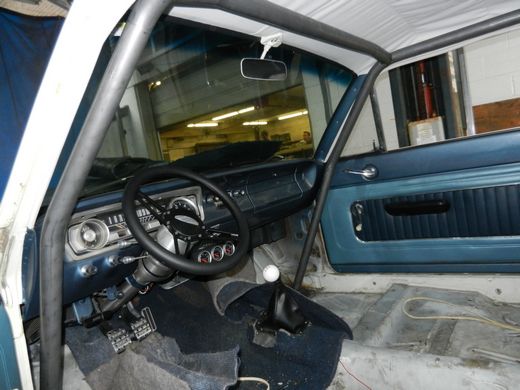
Fitment of the “Roof Line Bars” is the next step. These are the bars which run from the corner of the roll bar’s main hoop; along the headliner, down in front of the dash to the floor. Here are a few photos that show these bars being fit and then a couple of other photos that show the finish install of these tubes.
This photo shows Ron marking and fitting of the Roof Line Bar where it attaches to the main hoop
These photos show the Roof Line Bar fit and “tack welded in place.
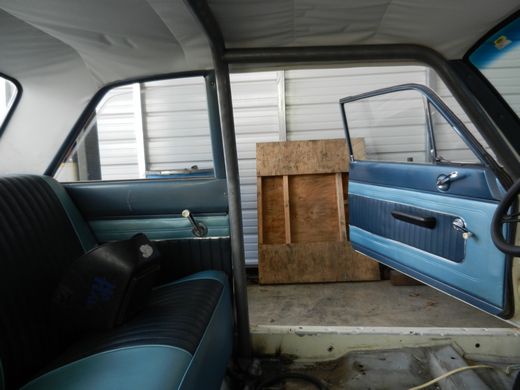
This photo shows how the “Roof Line Bar” attaches to the floor at the base of the dashboard. Again 6” X 6” X 1/8” Steel Plate is formed and welded to the car’s floorpan to provide a stable and strong attachment point for each of the roll bar’s pieces that attach to the stock floorpan.

These photos show the “Eyebrow Bar” that connects the two “Roof Line Bars” which runs along the top of the windshield.
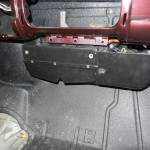
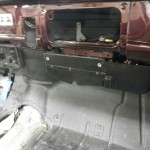
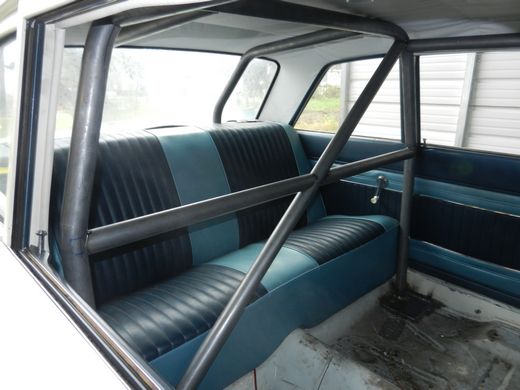
Carmine wanted to retain the factory rear seat although once all the tubing and braces are installed access will be “limited at best”. In order to retain the rear seat the “Main Hoop Rear Support Tubes’ that run from the corner areas of the Roll Bar Main Hoop down to the rear floor had to be bent to run through the “package tray” area behind the rear seat. This photo shows these bars in place; as shown through the rear window.
The next two photos show the support bracing and “Main Hoop Crossbar” that will provide a mounting area for competition shoulder harnesses if desired.
Here are some photos showing how the “Main Hoop Rear Support Tubes” attach in the trunk area.
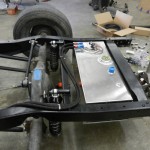
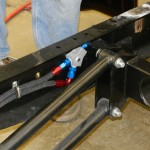
The Subframe Connectors attach between the factory front subframe to the factory rear subframe. In effect, “tying both ends of the car together properly” to provide a more rigid and stiff structure. All in an effort to provide better handling as well.
First, a view of the subframe connectors looking from the rear of the car toward the front.

This photo shows how the subframe connector attaches to the factory front subframe.

This photo shows how the subframe connector attaches at the rear to the factory rear subframe.

Here are some photos that show how the subframe connectors look inside the car.
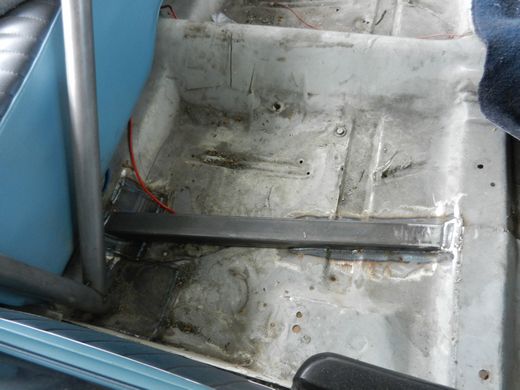

You may have noticed that there are no “Side Bars” installed. These are the bars that attach to the main hoop and run from the driver’s shoulder area down to the floor next to the door. Carmine wants to replace the factory bench seat with racing bucket seats. So, installing the “side bars” is put on hold until the new seats are installed.
So now the Falcon is ready to fly!


 December 5th, 2012
  admin
admin 
